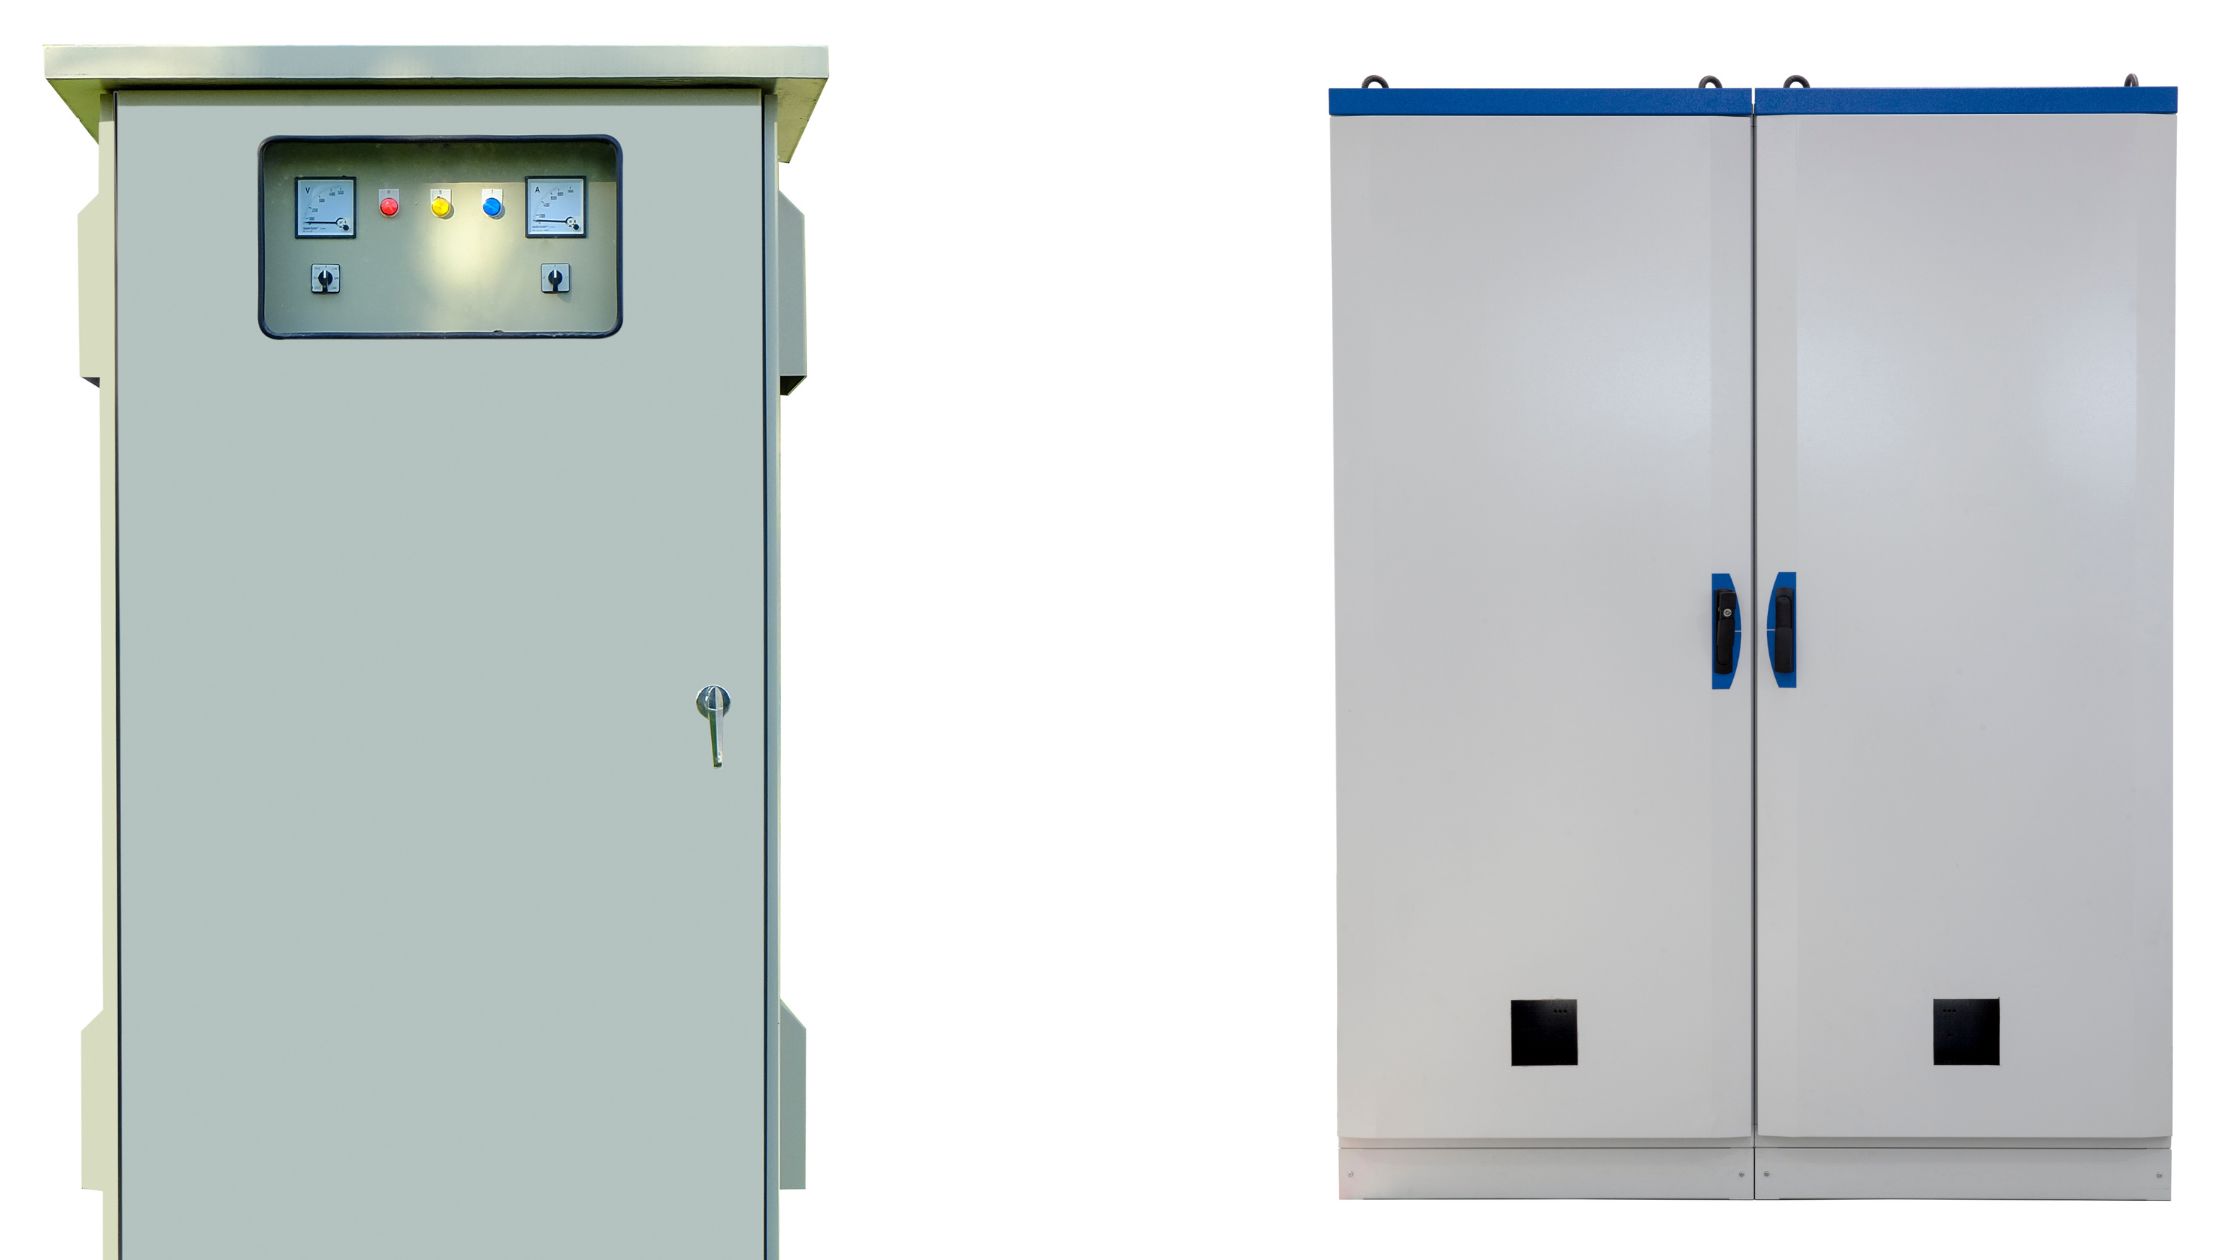
Crafting Professional-Quality Custom To how to make custom electronic sheet metal enclosures.
Materials Needed: how to make custom electronic sheet metal enclosures
- Sheet metal (aluminum or steel)
- Metal cutting tools (e.g., electric shear, nibbler, or hacksaw)
- Metal bending brake or vice grips
- Drill and metal drill bits
- Deburring tool
- Ruler or measuring tape
- Marker or scribe
- Safety equipment (gloves, safety glasses, ear protection)
Step 1: Design Your Enclosure Start by designing your enclosure on paper or using computer-aided design (CAD) software. Consider the dimensions of your electronic components and any necessary cutouts for interfaces, switches, and connectors. Plan out the layout of the enclosure, including where you’ll need bends for seams and mounting points for components.
Step 2: Choose Your Sheet Metal Select a suitable sheet metal for your enclosure. Aluminum and steel are common choices, with aluminum being lighter and easier to work with but slightly less durable than steel. Ensure the thickness of the sheet metal is appropriate for your project’s needs, typically ranging from 18 to 14 gauge for electronic enclosures.
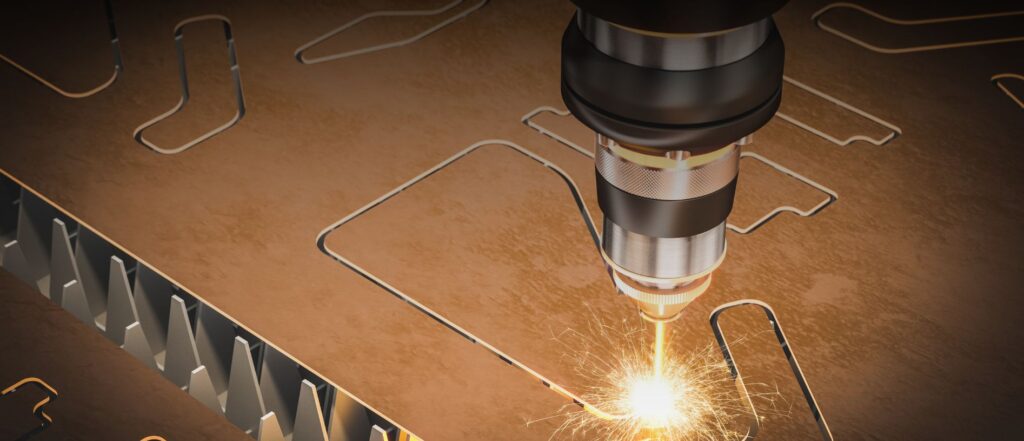
Step 3: Cut the Sheet Metal Using metal cutting tools such as electric shears, a nibbler, or a hacksaw, cut the sheet metal to the dimensions specified in your design. Take care to make straight and precise cuts, as they will determine the final fit and finish of your enclosure.
Step 4: Bend the Metal Next, use a metal bending brake or vice grips to create the bends needed to form the sides, top, and bottom of the enclosure. Follow your design’s specifications carefully, using a ruler or measuring tape to ensure accurate bends at the correct angles. Take your time to achieve clean and crisp bends for a professional-looking result.
Step 5: Drill Holes and Cutouts Using a drill and metal drill bits, create holes for mounting components, ventilation, and cable routing as per your design. Take care to position the holes accurately and use a deburring tool to remove any sharp edges or burrs around the holes.
Step 6: Assemble the Enclosure Once all the components are cut and holes drilled, it’s time to assemble your enclosure. Use metal screws or rivets to join the pieces together, ensuring a secure and robust construction. Test fit your electronic components inside the enclosure to ensure everything fits properly before final assembly.
Step 7: Finishing Touches After assembly, inspect the enclosure for any sharp edges or rough surfaces. Use a file or sandpaper to smooth out any imperfections and apply a protective finish such as paint or powder coating to enhance durability and aesthetics.
Very interesting subject, thanks for putting up.Raise range